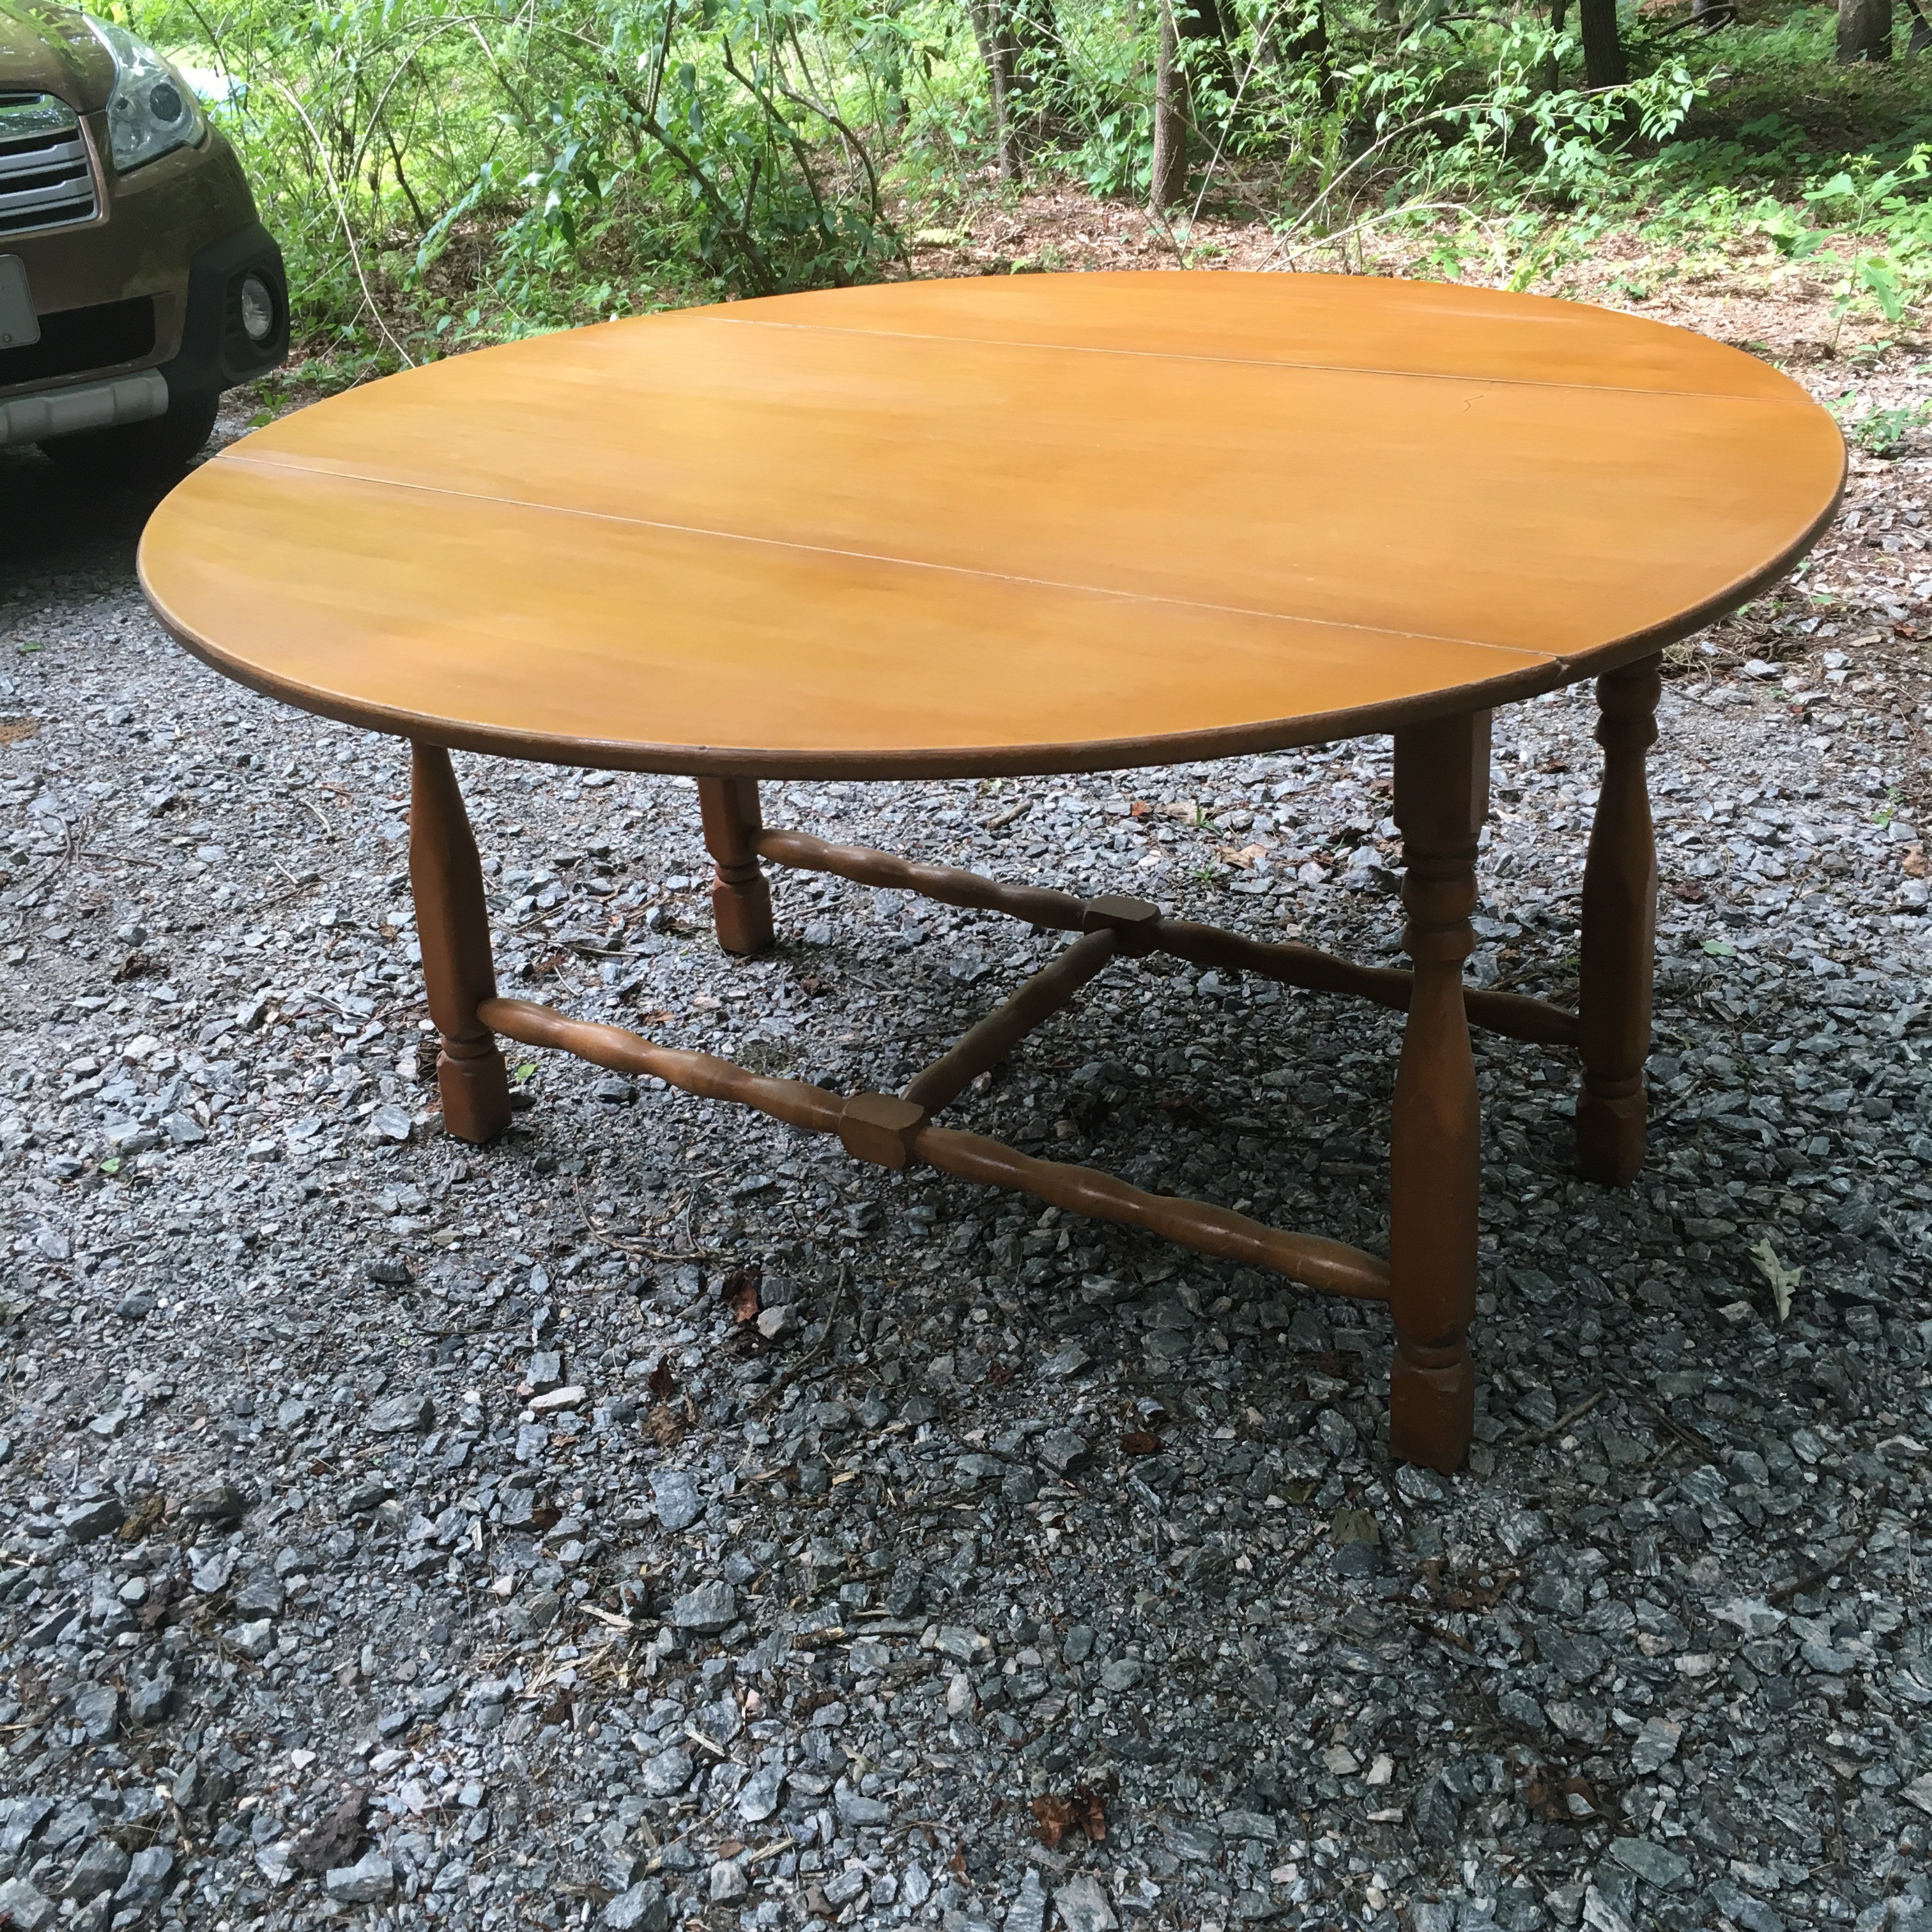
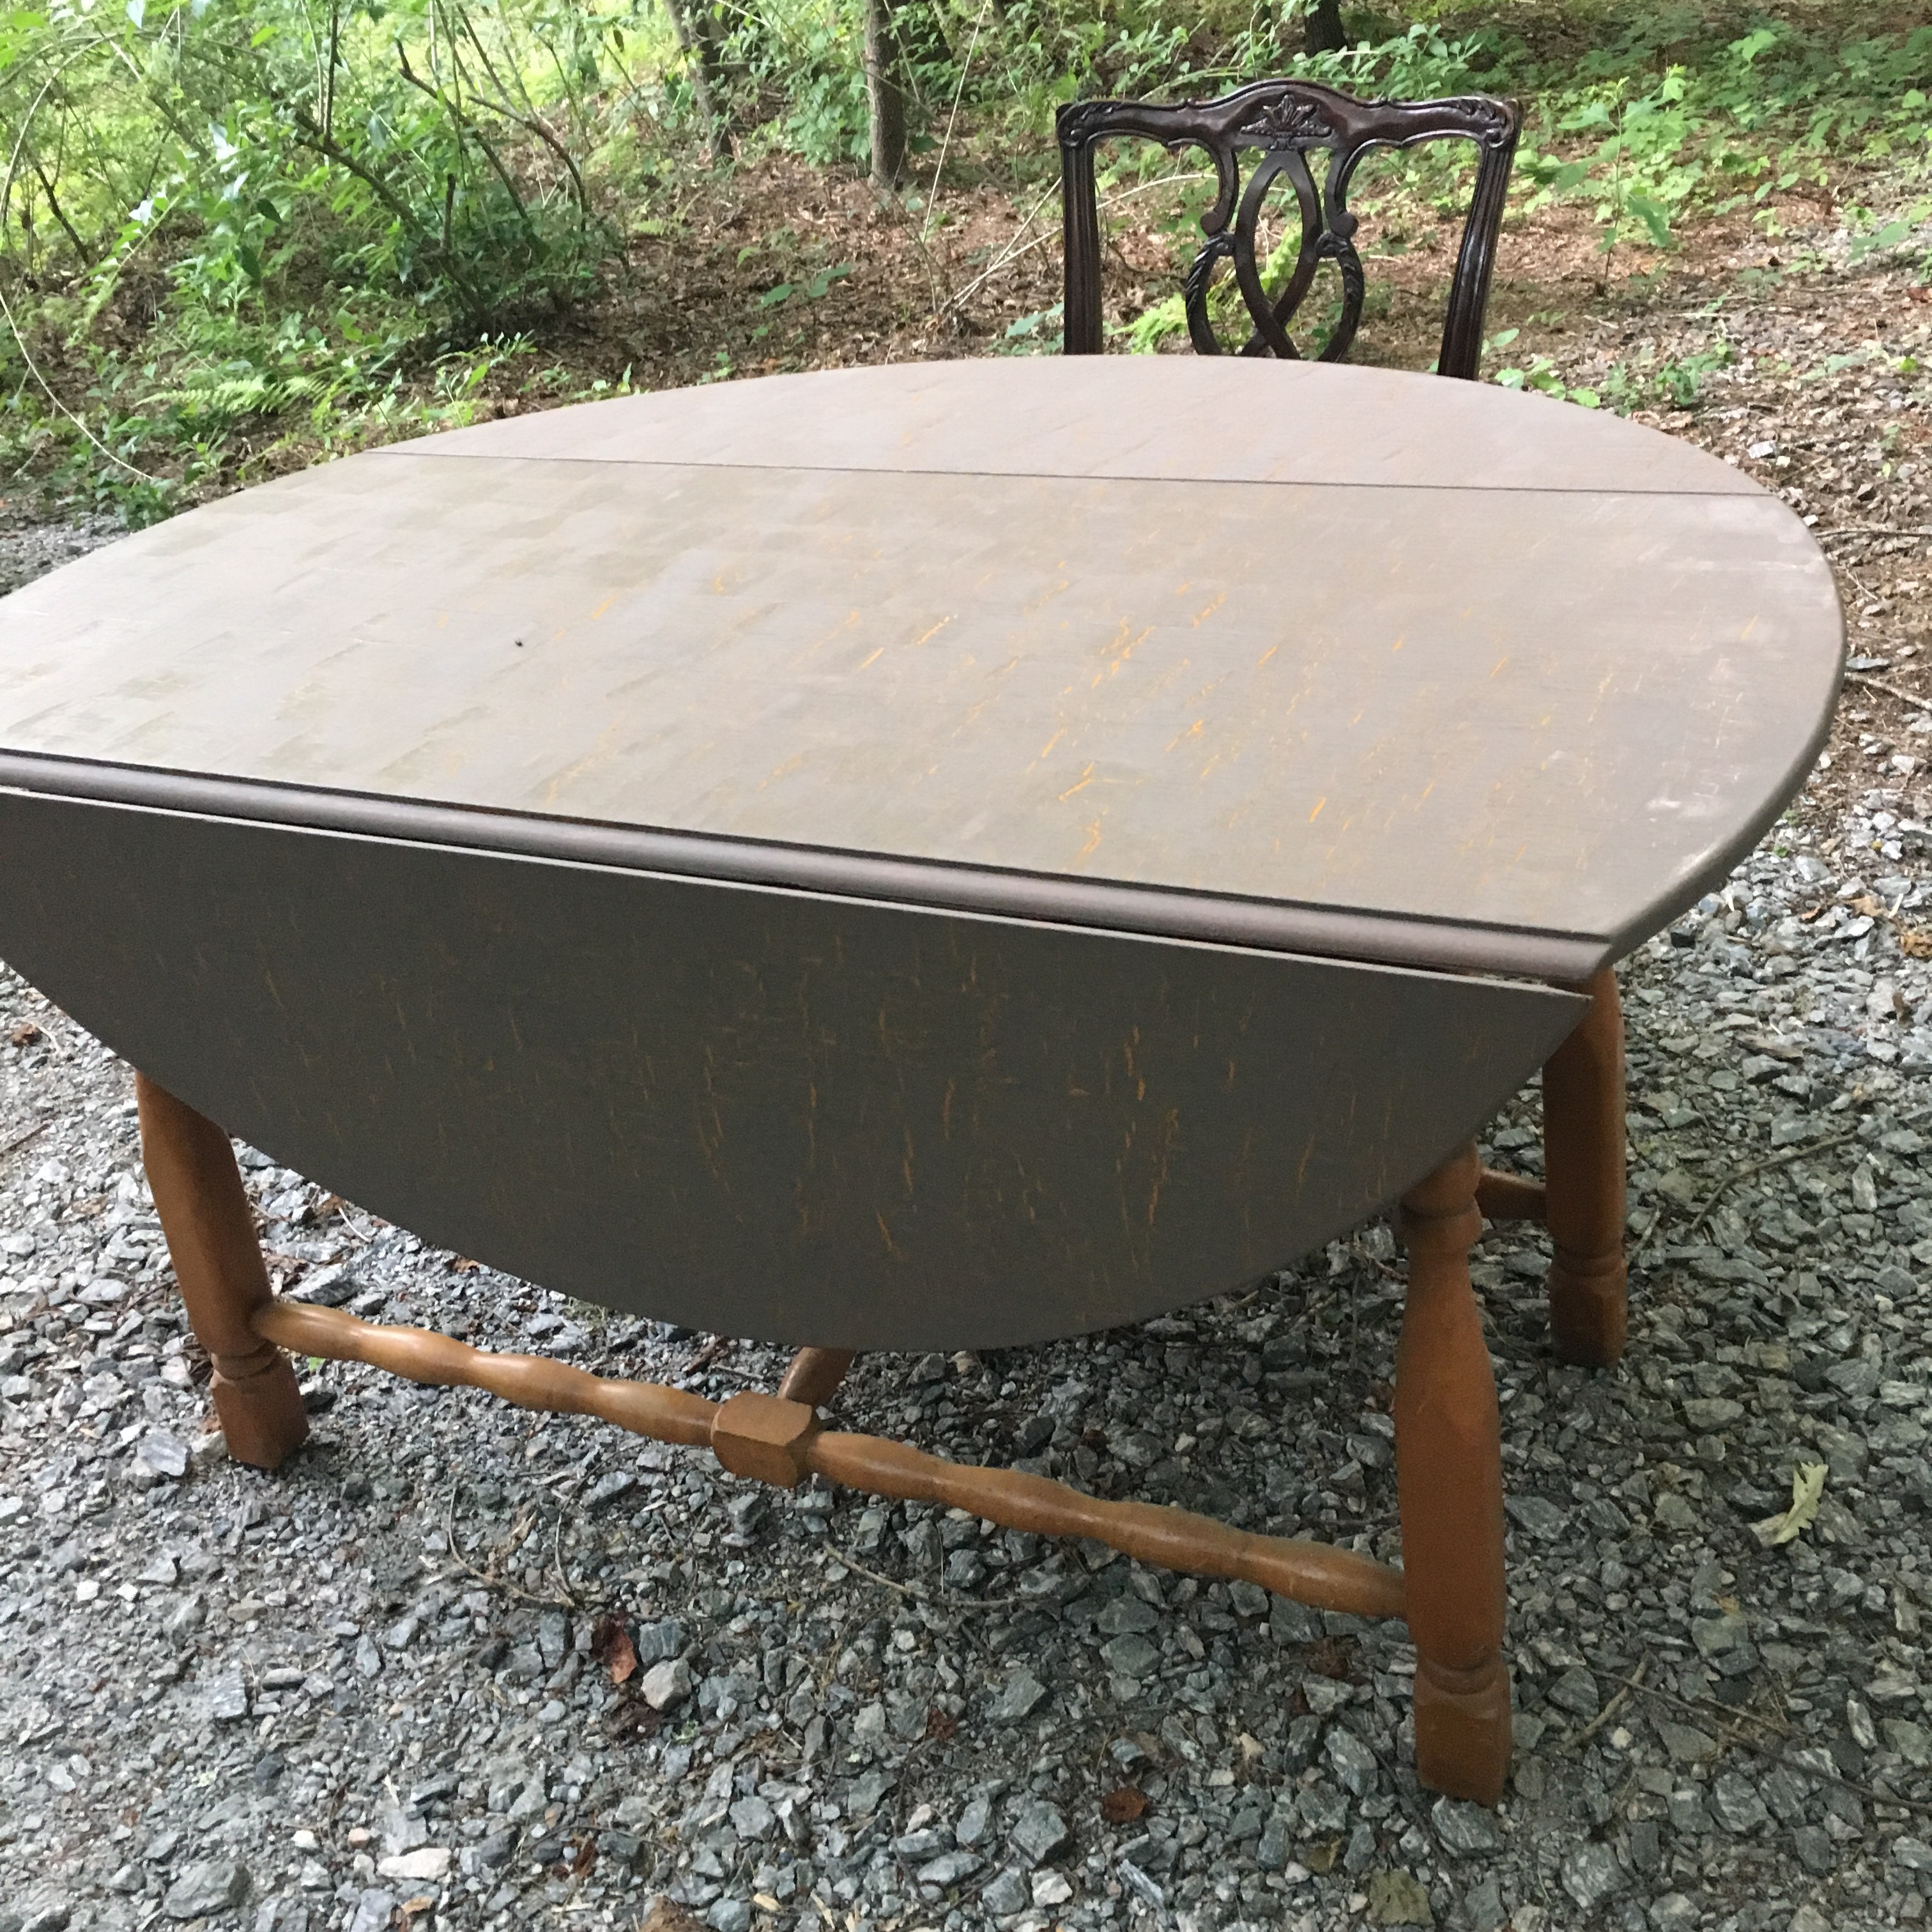
So, the table pictured is going to be our new dining room table at The Oak. I purchased it at an online auction a year ago for $15. It’s a solid maple drop-leaf round table I’m guessing is circa 1950’s or def 19-something. I’m pairing this very casual table with some formal mahogany hand carved Chippendale style chairs with seat bottoms covered in a plaid or checked fabric. The table will easily seat six and when we have the whole family in, there will be a large dining table on the covered porch that seats an additional 12.
I was prompted to share this because I am surprised to learn neither Home Depot nor Lowe’s carry crackle medium. The paint salesman at Home Depot said, “No one’s really doing it anymore.” To which I replied, “I’ve been crackle painting for 20 years and I’m still doing it.” He further explained that in reality very few folks achieved the look they saw in the magazines, so through their frustration they would return the product. To which Home Depot responded by dropping it. The Lowe’s associate simply told me the reason they no longer offered the medium is because “the crackle look is out of style”…
…Here’s the thing, call me an old coot, call me fat, call me ridiculous, and I’ll just cavalierly pshaw you…but call this designer for life “irrelevant” or “out of style” and them is fightin’ words.
Crackle is not dead, but it’s like Brylecreem – “a little dab will do you”. And it’s a technique most folks have yet to fully master. But I’m here to show you a few tips to make your next crackle finish project EASY and flawless.
Paint Crackle Tutorial
First – lightly sand your project with a fine grit paper or you can apply a water base deglosser so that the surface now has a “tooth” to hold the medium and paint. I had already sanded with 0000 sandpaper and wiped the surface clean of all debris.
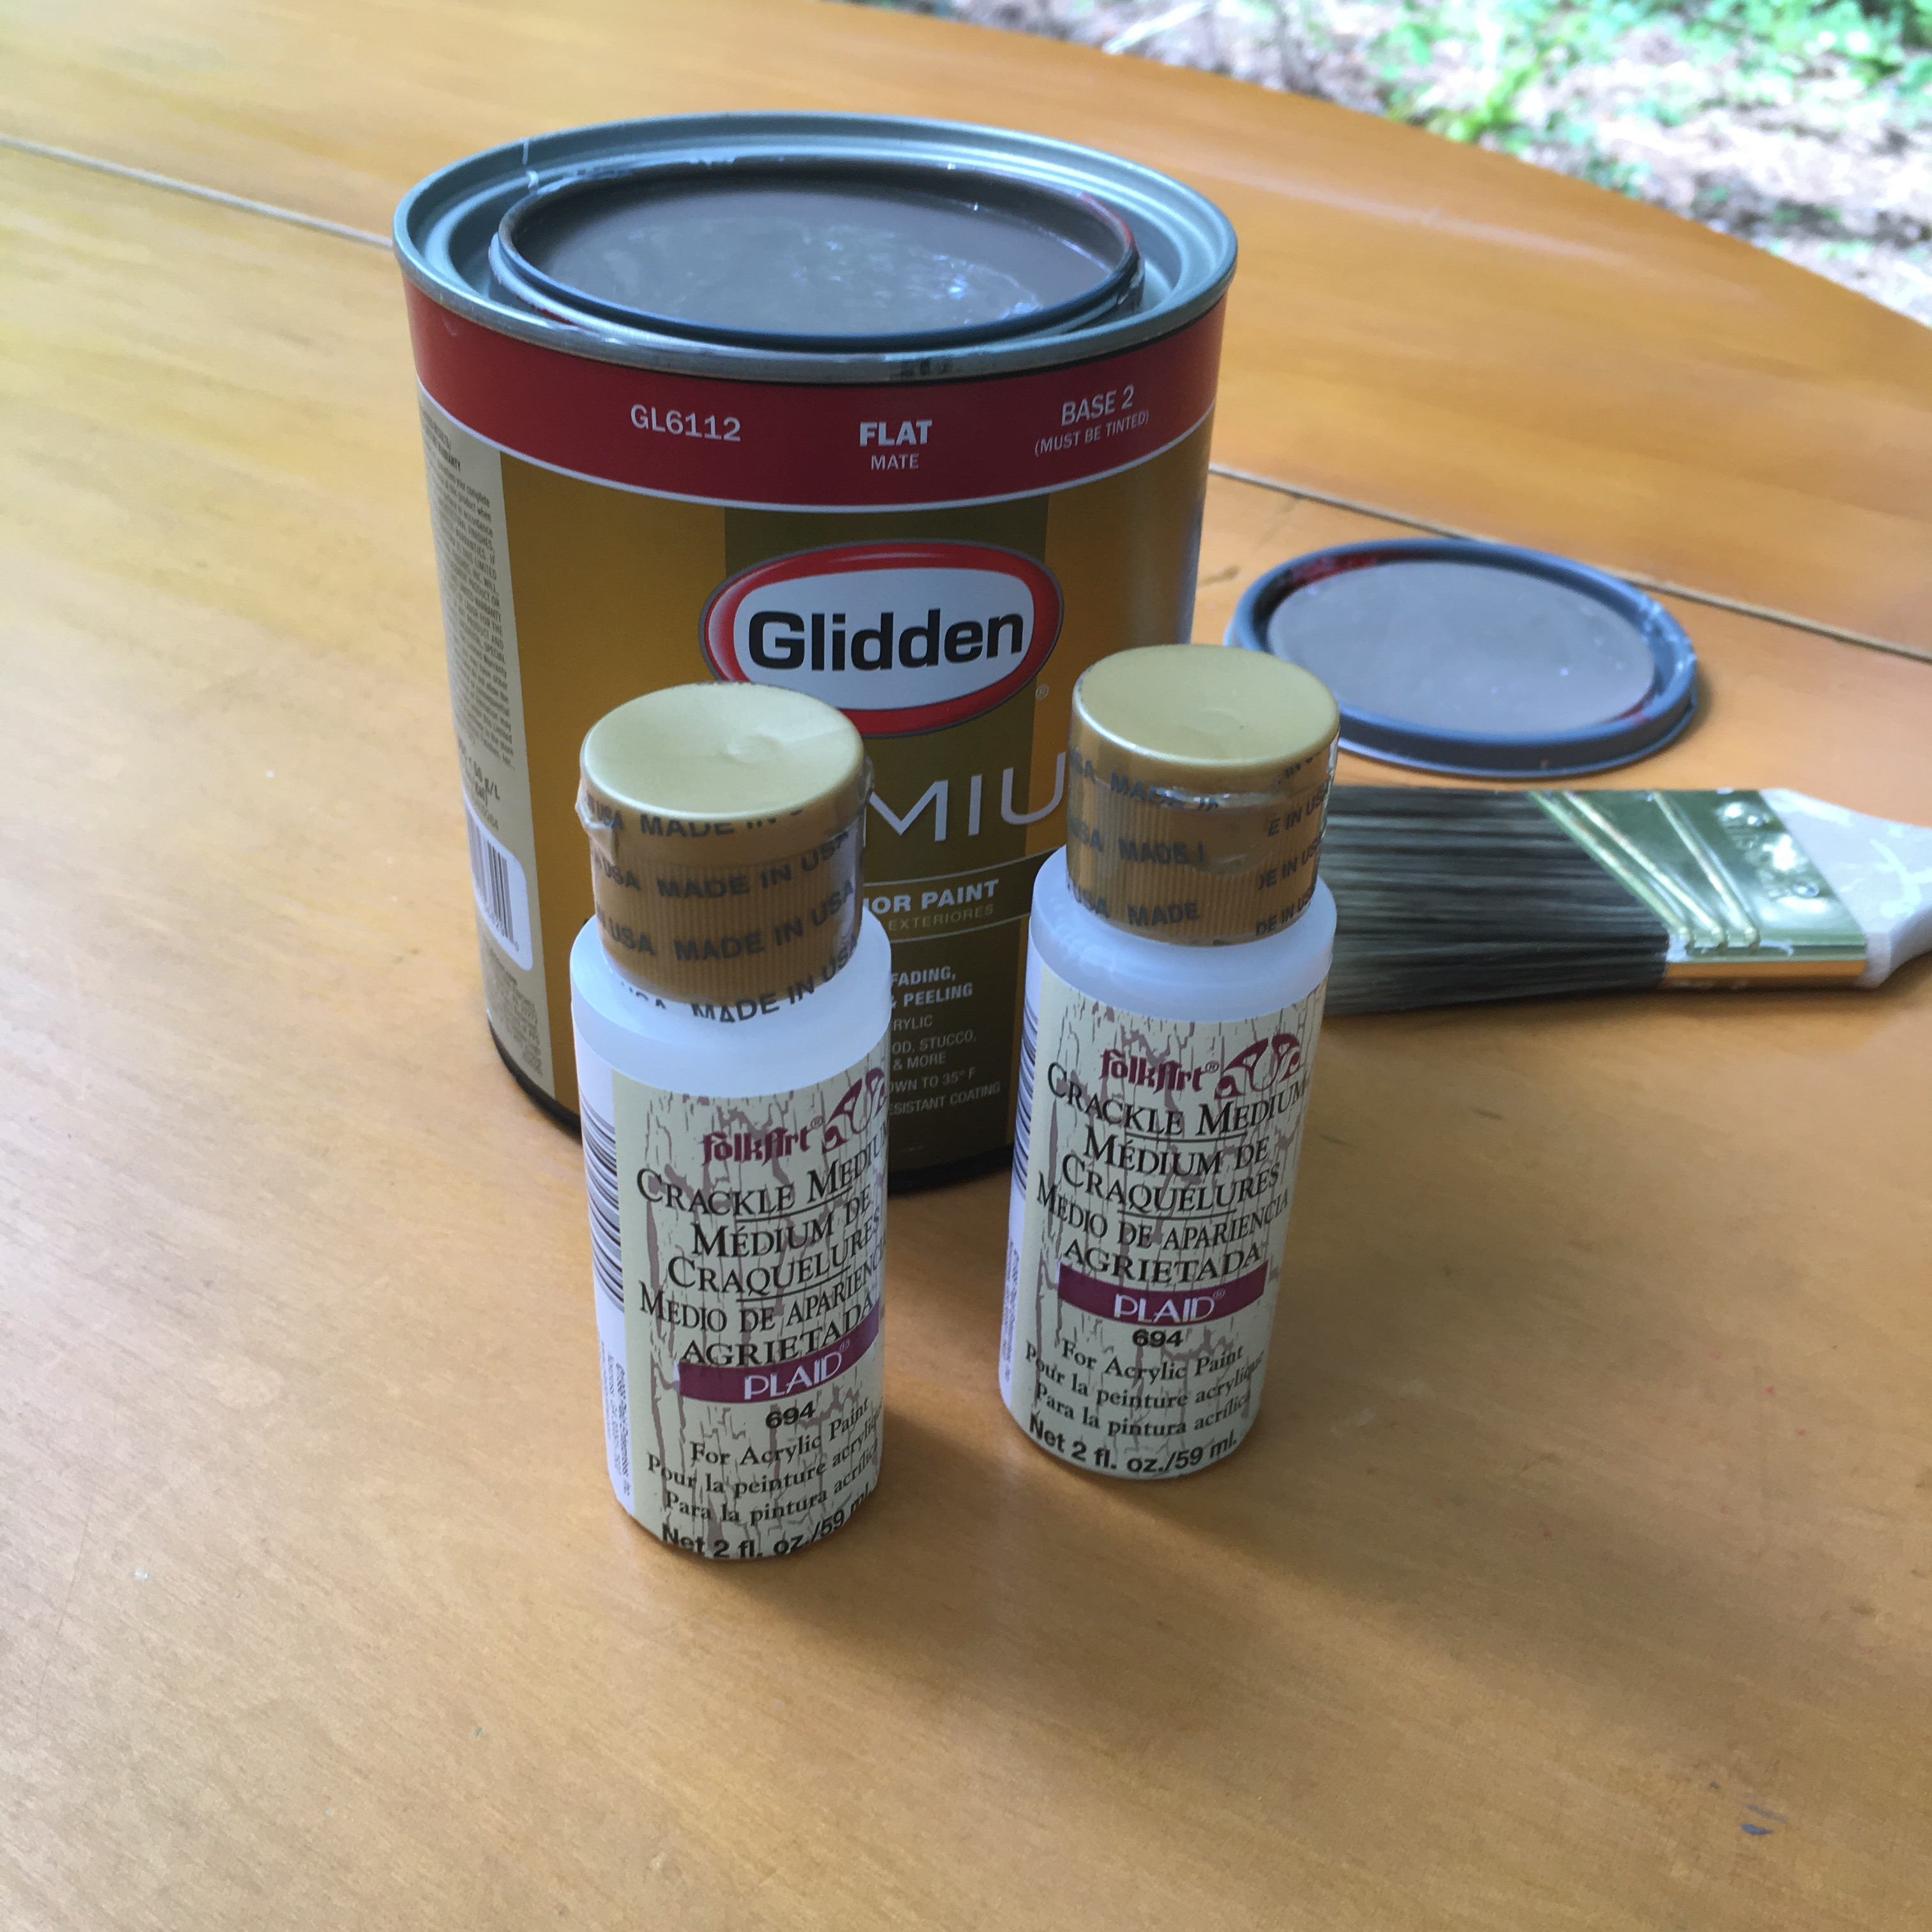
The products used: crackle medium (some folks swear by good old Elmer’s white glue but I have never tried it) – these two small bottles of Folk Art crackle from Jo-Ann’s were plenty to do the top of the table, your choice of paint color(s) in FLAT EXTERIOR, a good angled synthetic brush. Note about flat exterior paint – I’ve been using this weight and finish of paint for over 20 years pre-dating the chalk paint craze by many years. Chalk paint is expensive and way overrated – the flat exterior will get you a very similar look for way less money and time.
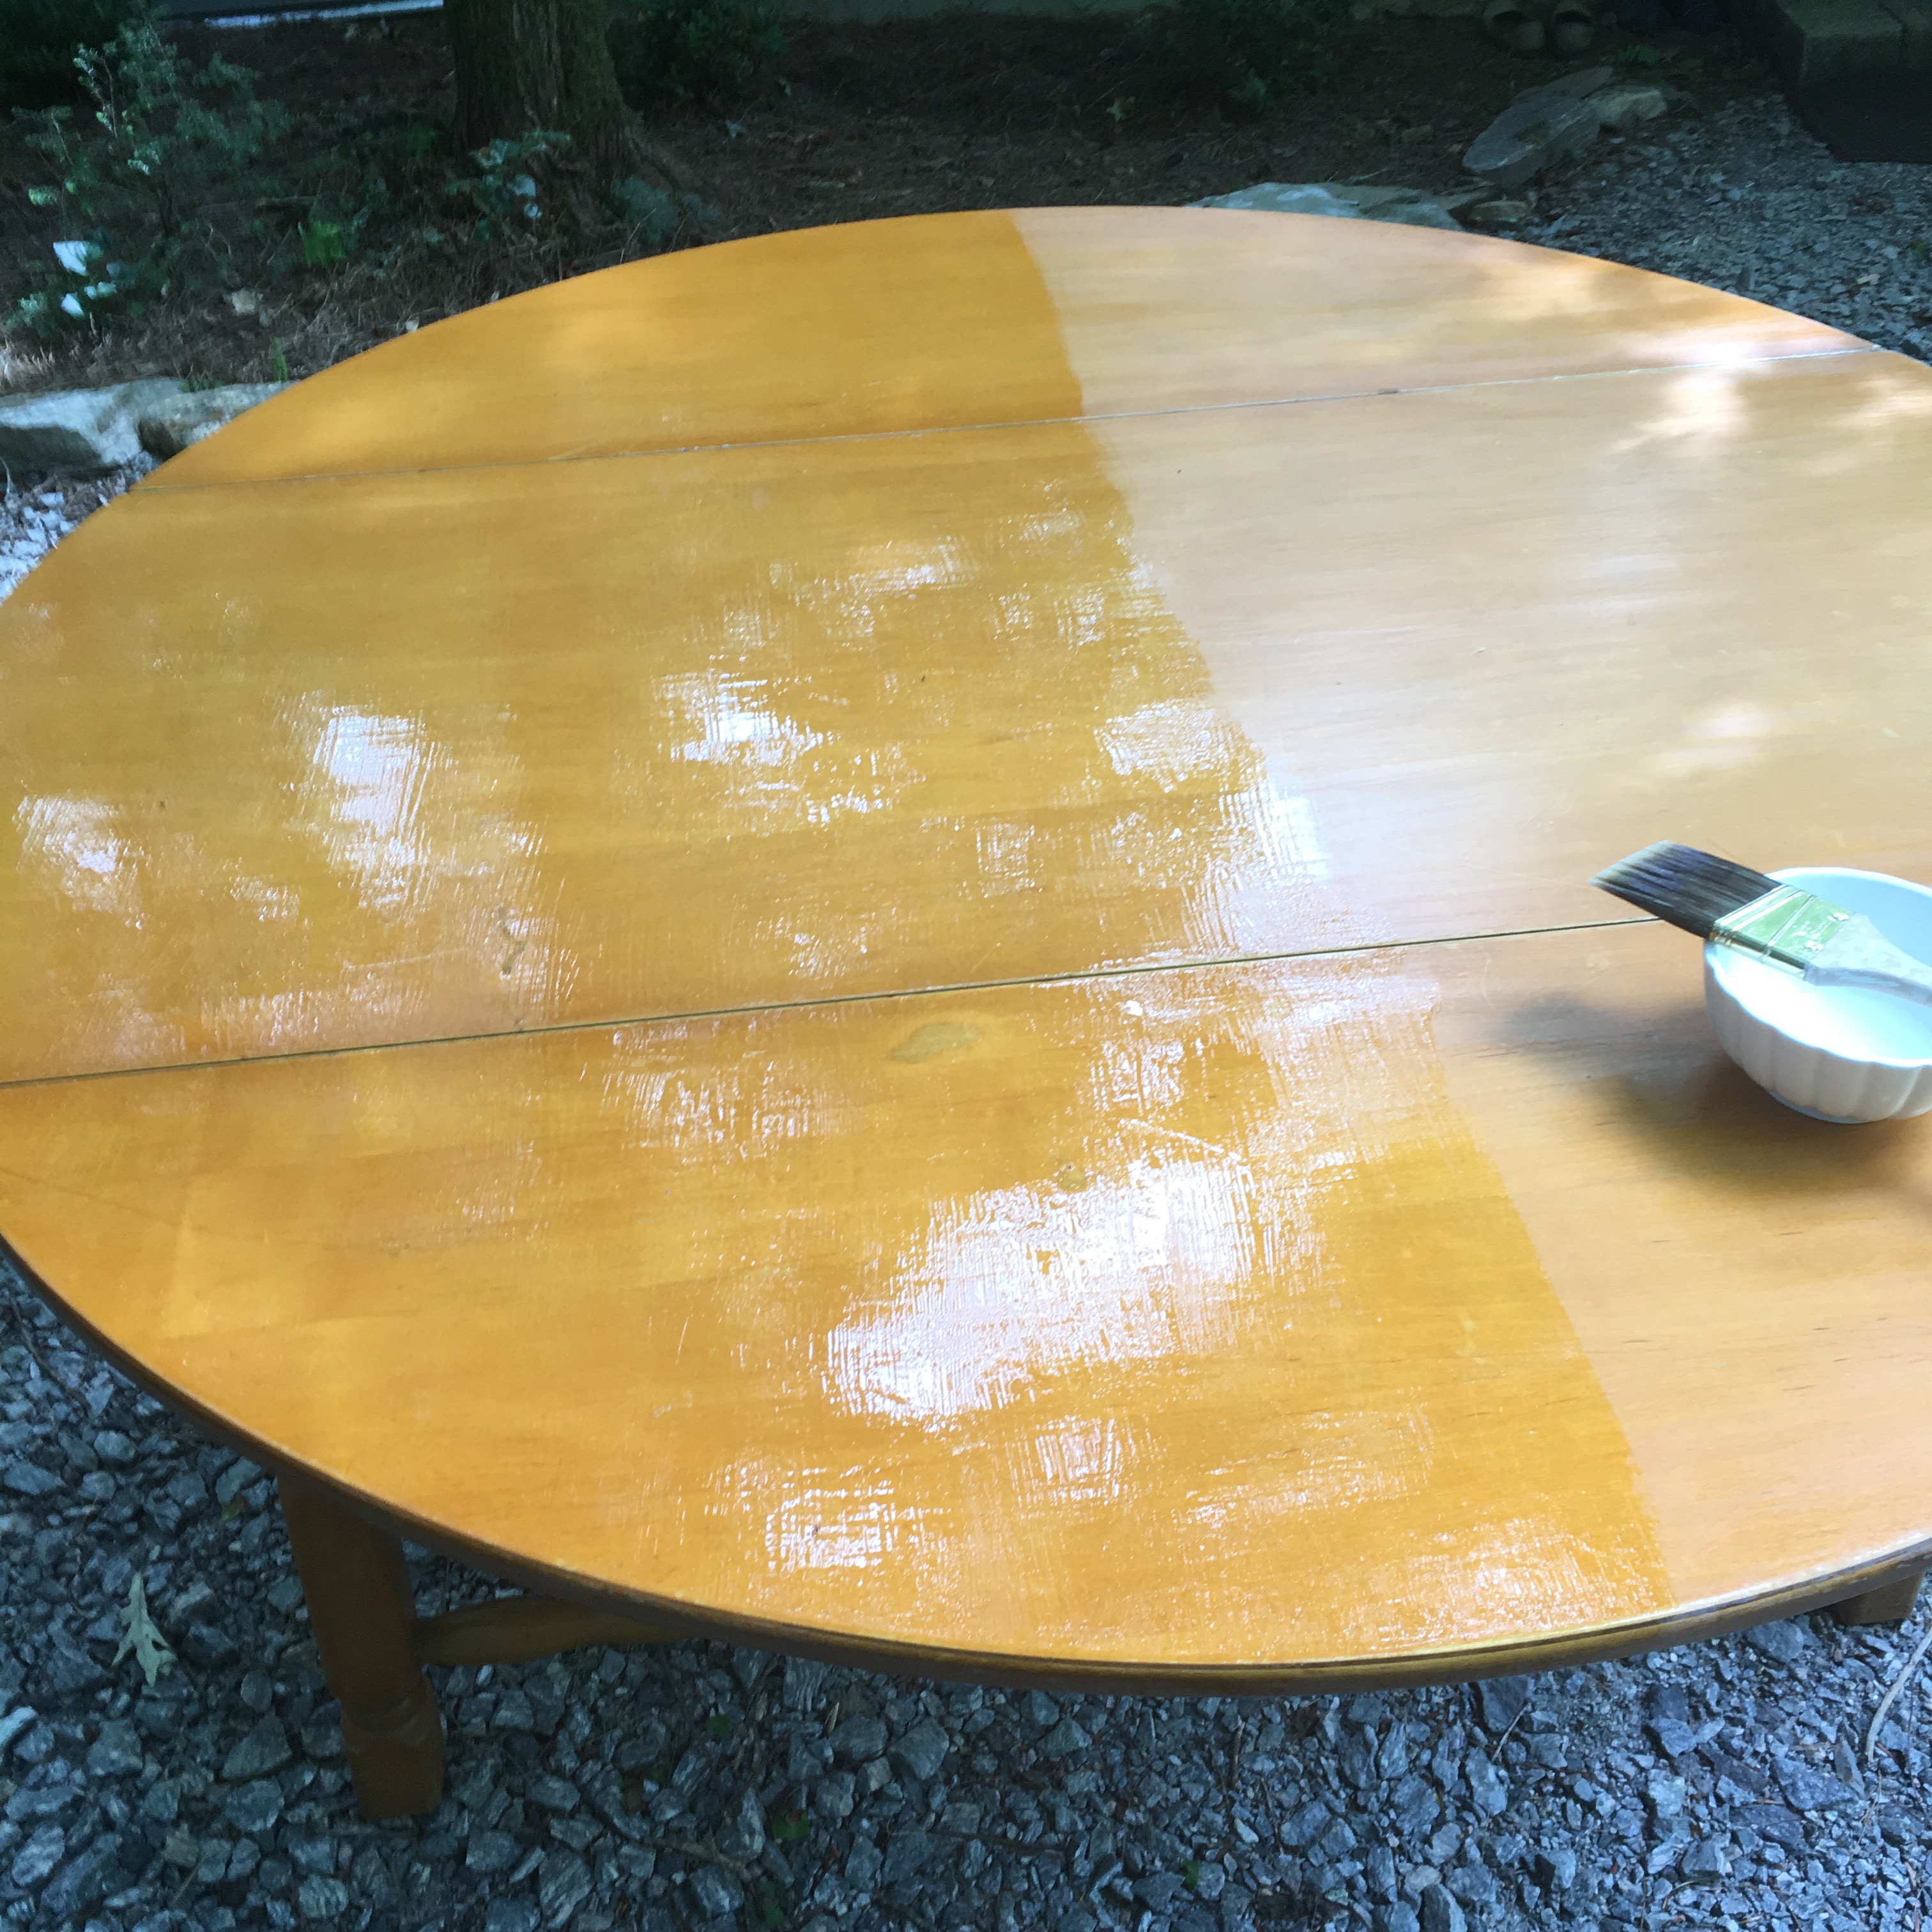
Because I wanted the gold maple finish to be the accent color I didn’t have to paint an accent base. If you want an accent base, it’s important to apply the base very neatly with the wood grain and not willy-nilly. I applied the crackle medium directly to the table – (very important) Brush on the medium perpendicular to the grain! Keeping strokes even and as straight as possible. I also start from center of a large project and work towards me. Apply the medium sparingly, the thicker the medium the larger the crack.
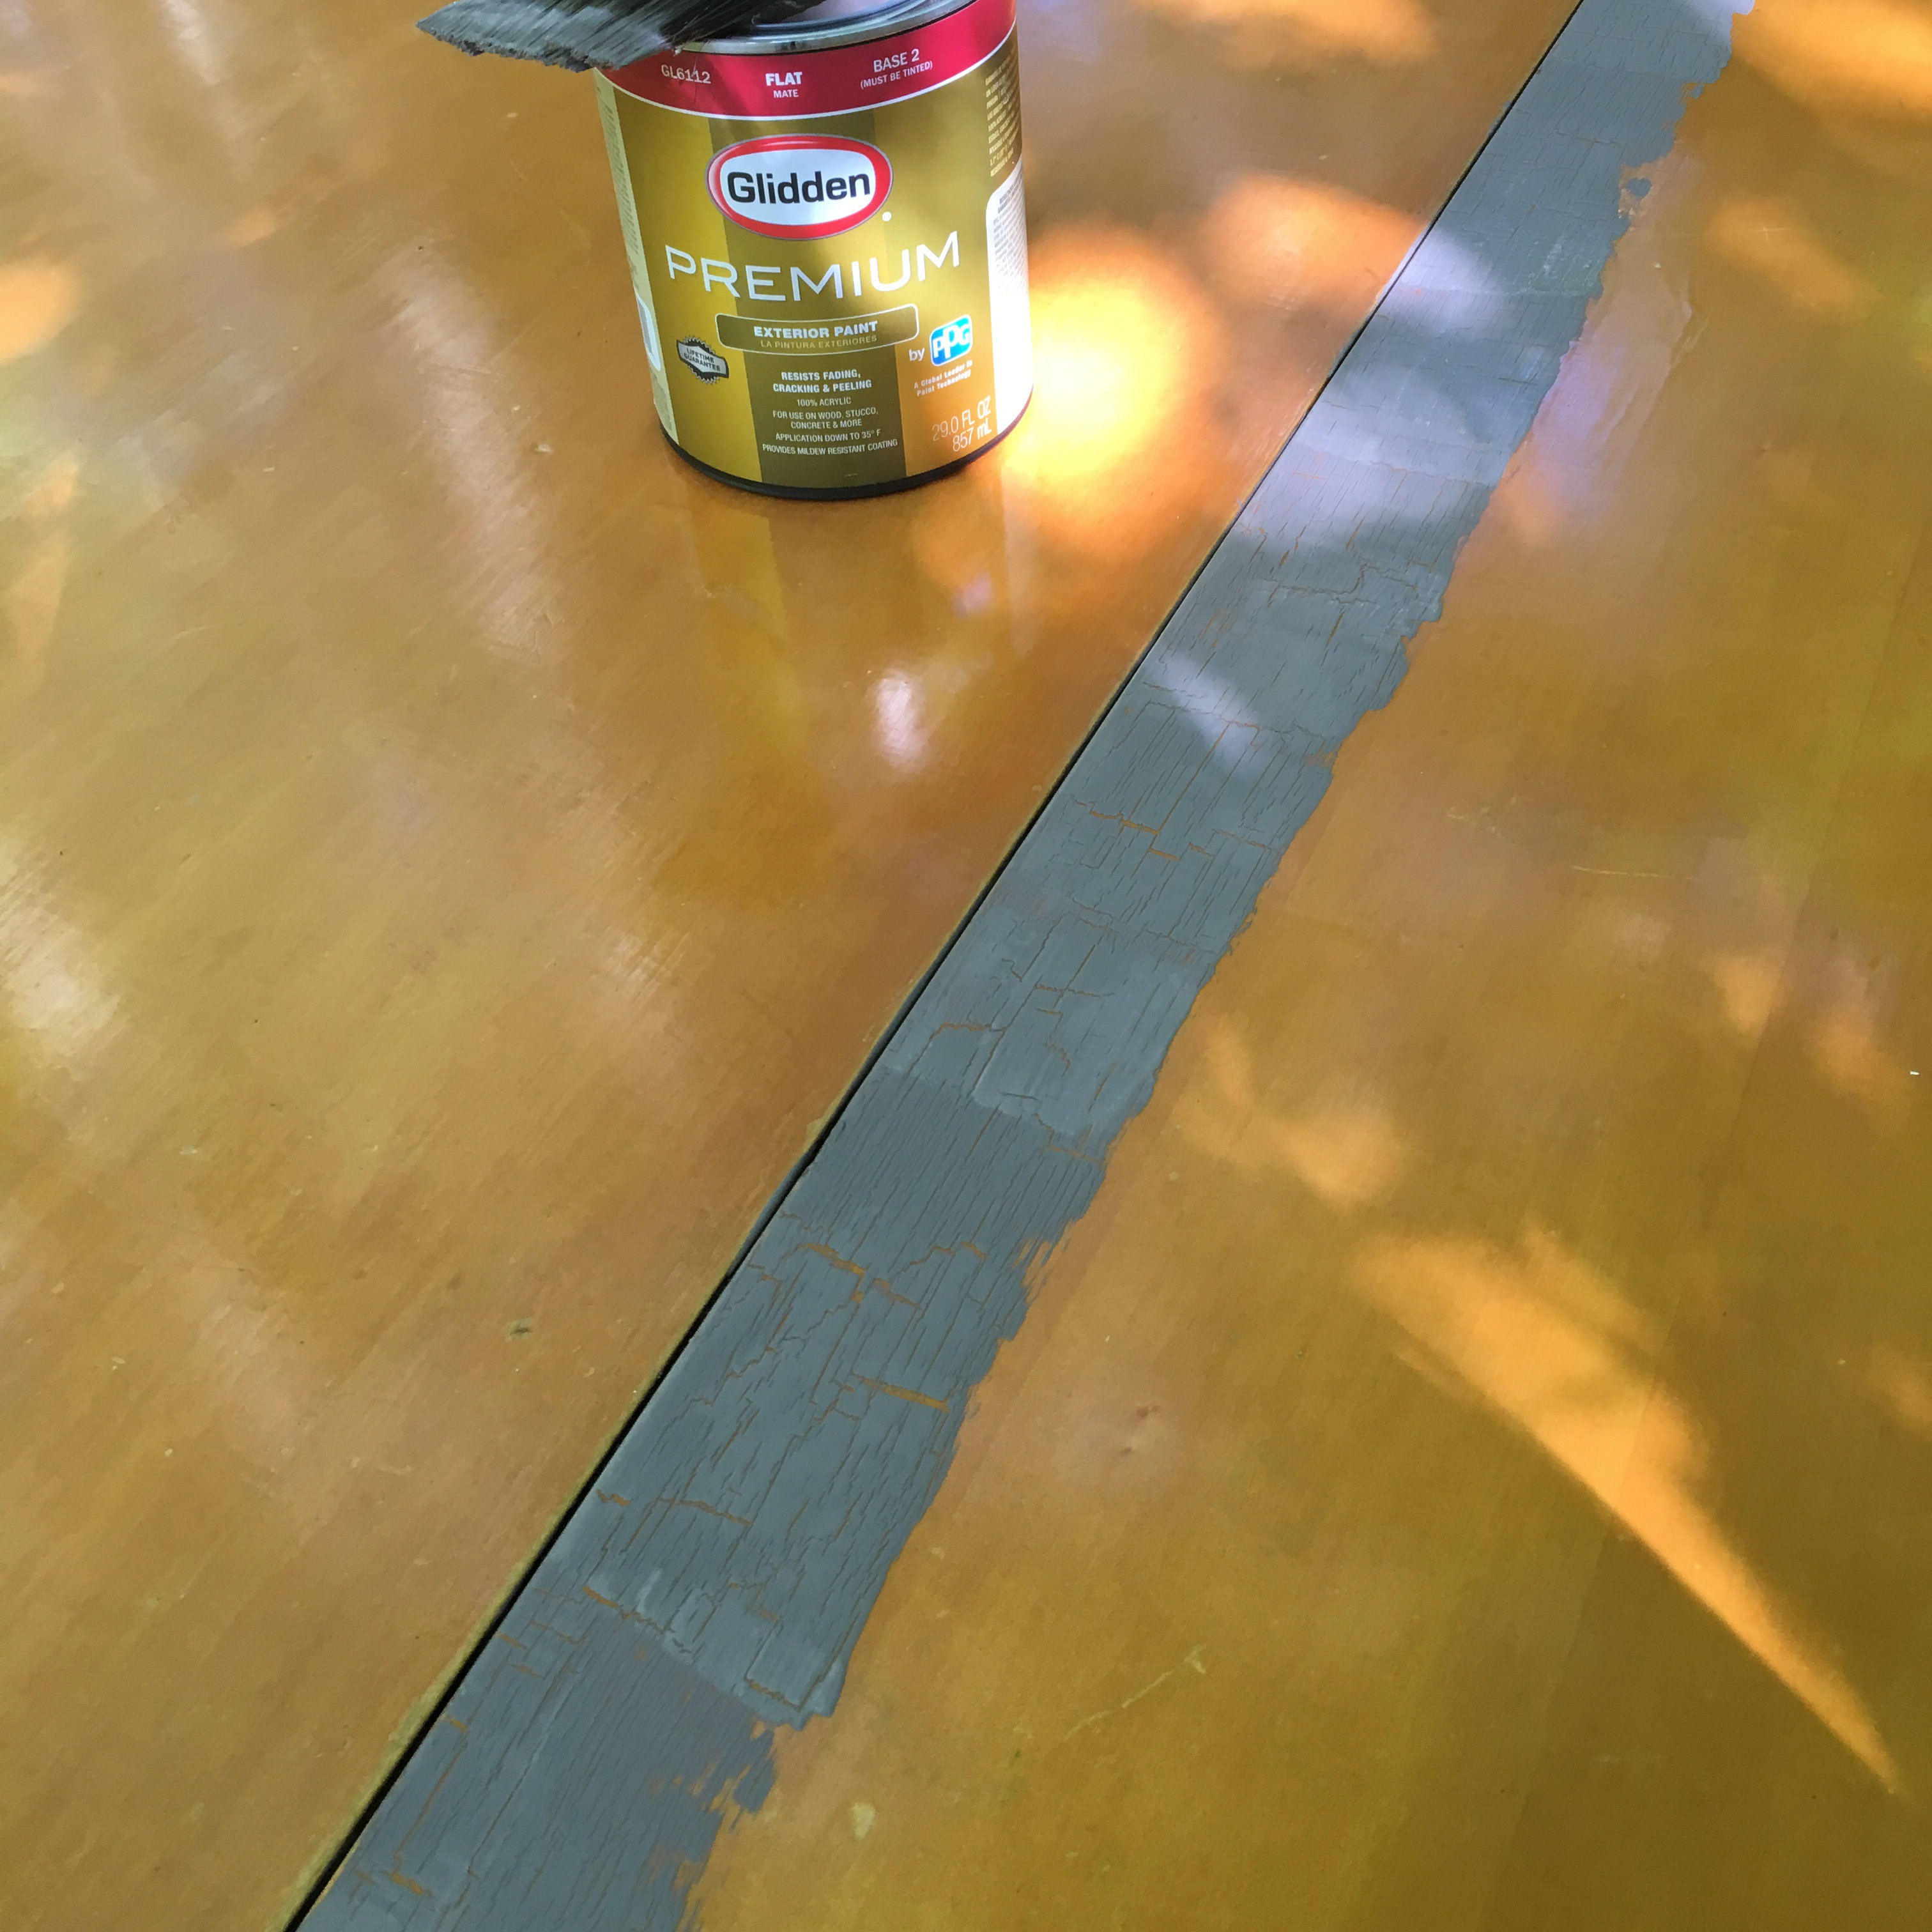
Allow the medium to dry completely before painting. Your project should be ready to paint within 30 minutes. Now – for the trickiest part of the project – applying the paint without dragging and clumping. The art is in the brush load and short, one-time strokes. It’s important to NEVER go back over the paint that has been down for more than 20 seconds. Remember – the crackle medium was applied against the grain. But we will be painting with the grain – and it’s THAT technique that allows for an even cracked paint look. Load your brush (I use a 2.5″ for most projects) bringing the paint straight up from the paint and tapping – not scraping – on each side of the container. Then, pull the paint in a straight line until the brush no longer carries an even amount of paint (appx 4-5″)…load brush quickly again and start next stroke where last ended. Each new stroke will load more paint in beginning and get thinner as you pull. In the picture below you should be able to see my strokes. If you make a mistake and start to drag the existing already wet and cracked paint resist the urge to fix it. Move on, and when the paint is dry you can lightly go back over the area. Once you’ve finished a straight line, begin your next strokes directly beside the finished line being careful not to drag any wet crackled paint. It may seem intimidating at first, but with a little practice your strokes will become effortless. The key is a steady hand and not rushing.
I painted each leaf first, always working from the outer part working in. Once the sides were dry I started from the center of the table working towards me, and then repeated on the opposite side.
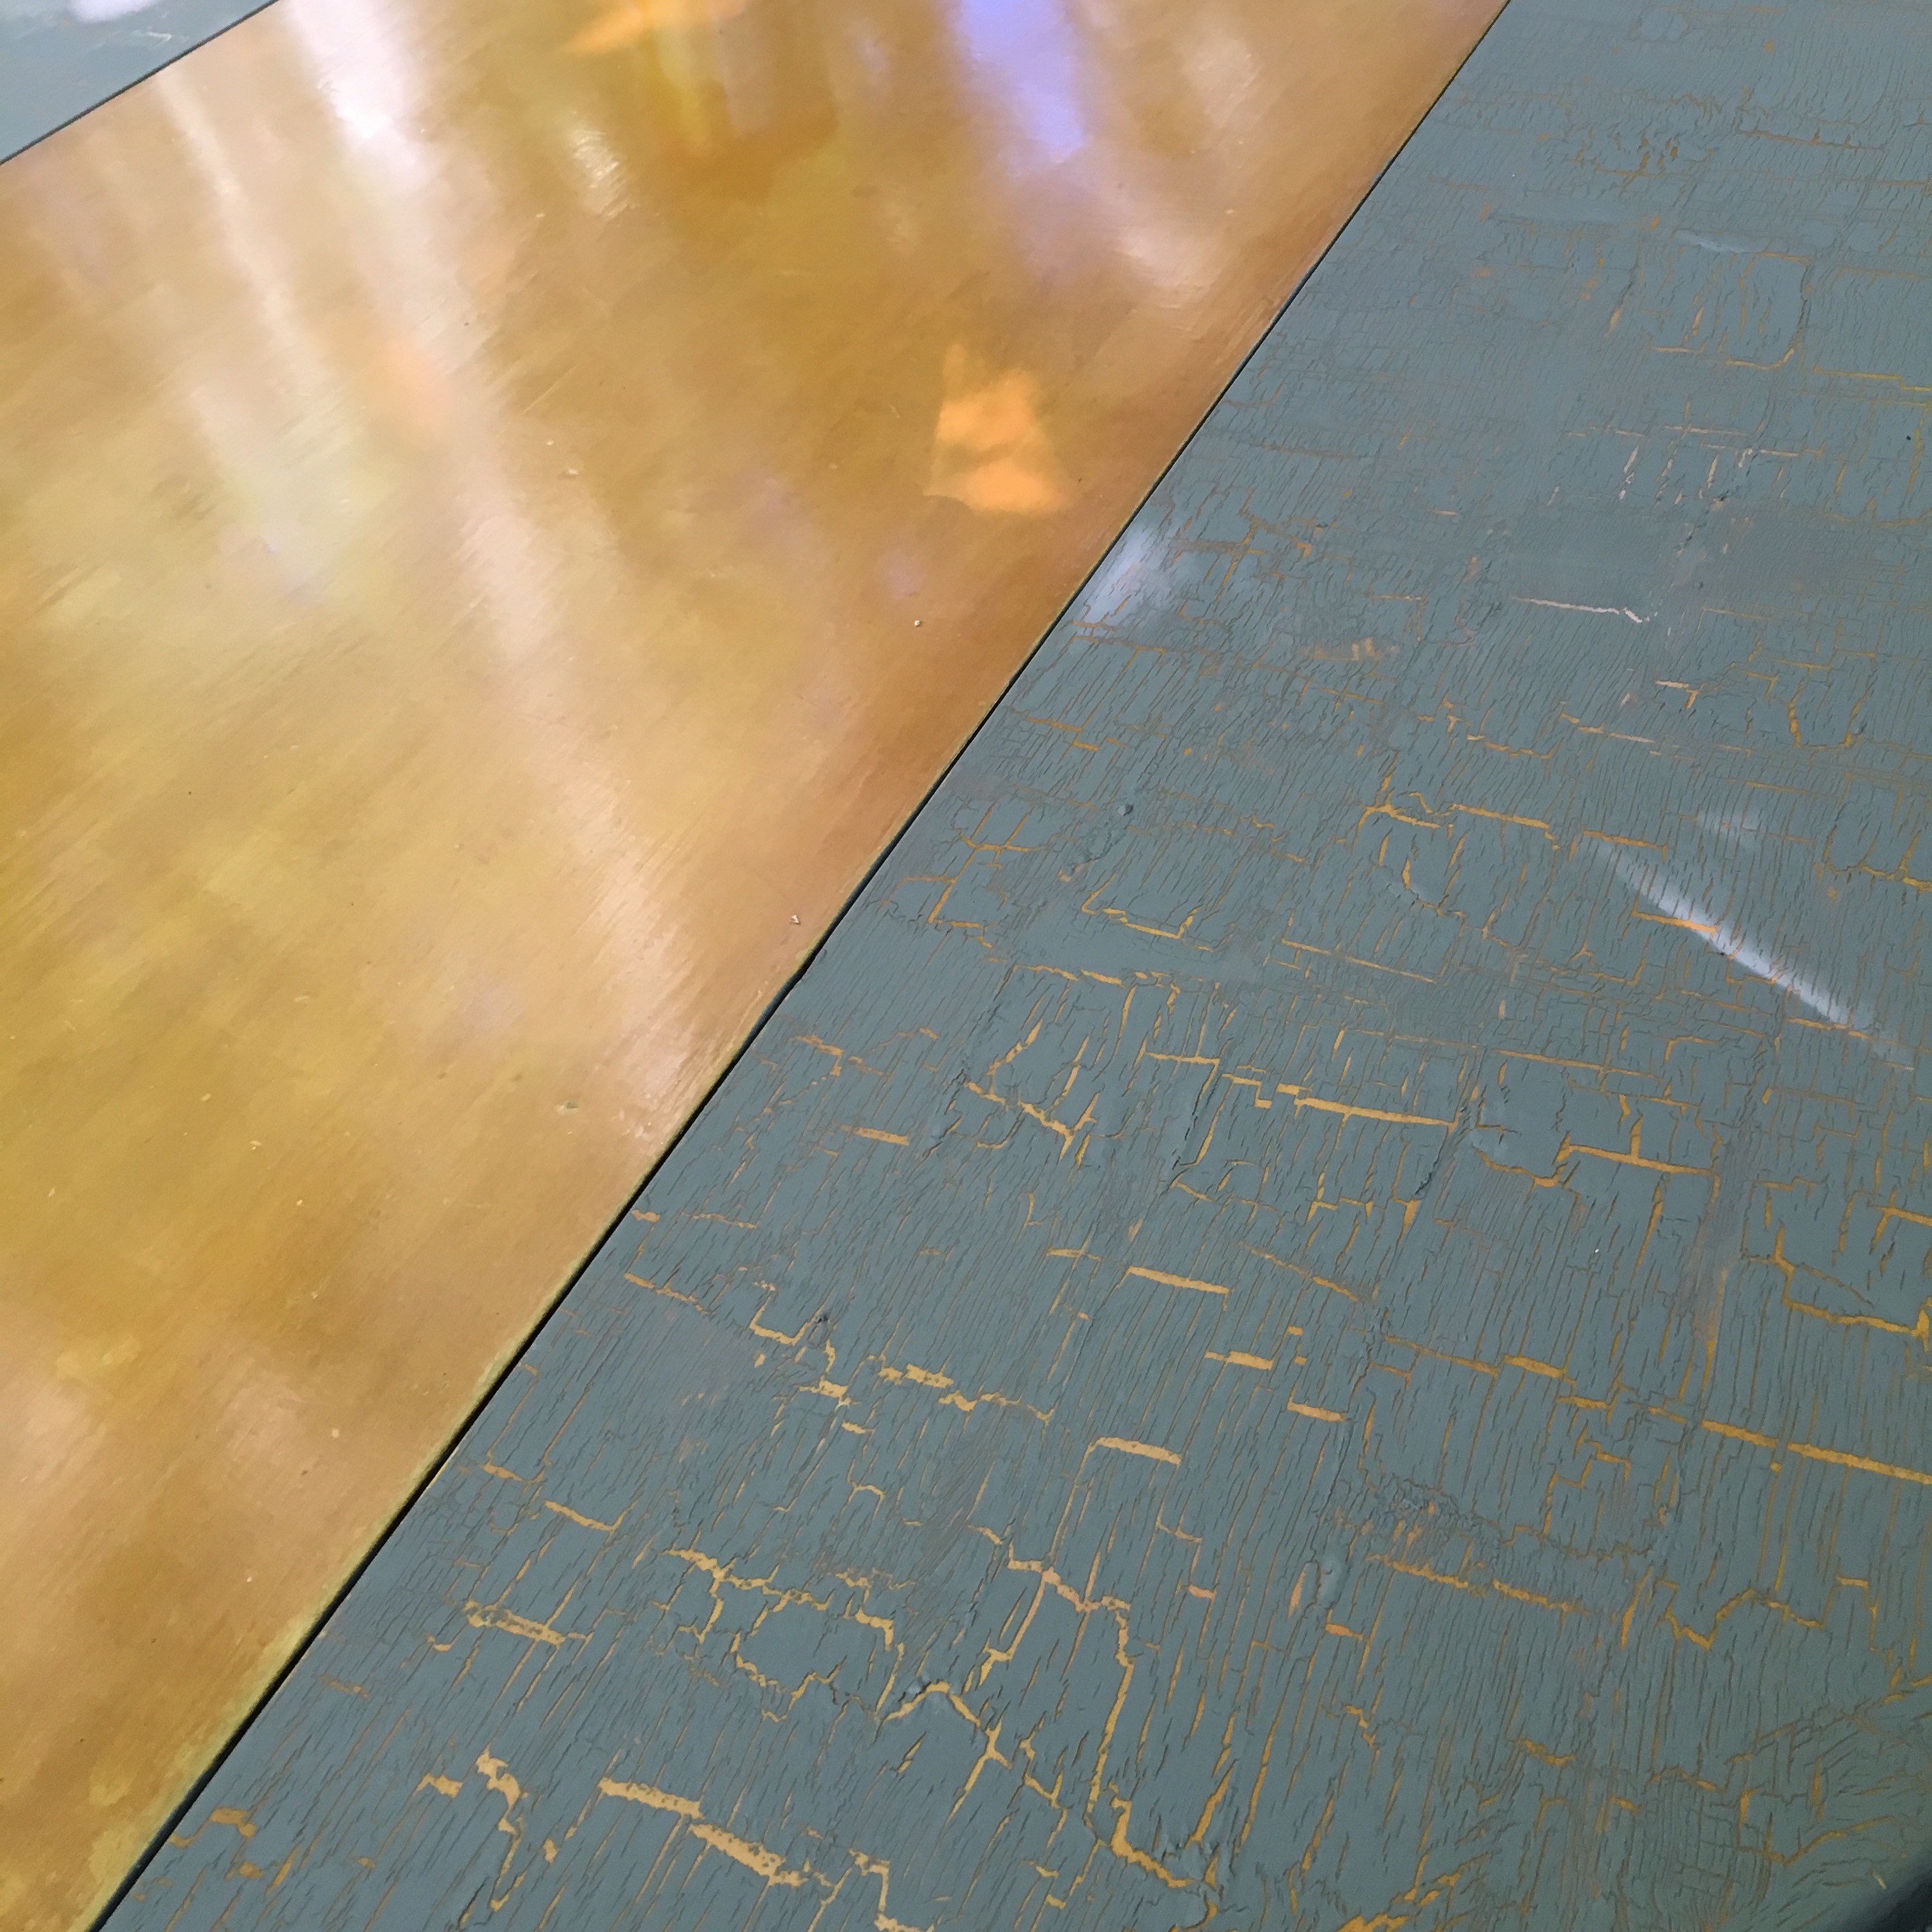
By applying the medium perpendicular to your paint strokes, the results are an even more uniform crackle. Once the paint dries the strokes almost disappear and the piece looks authentically aged, not badly faux finished.
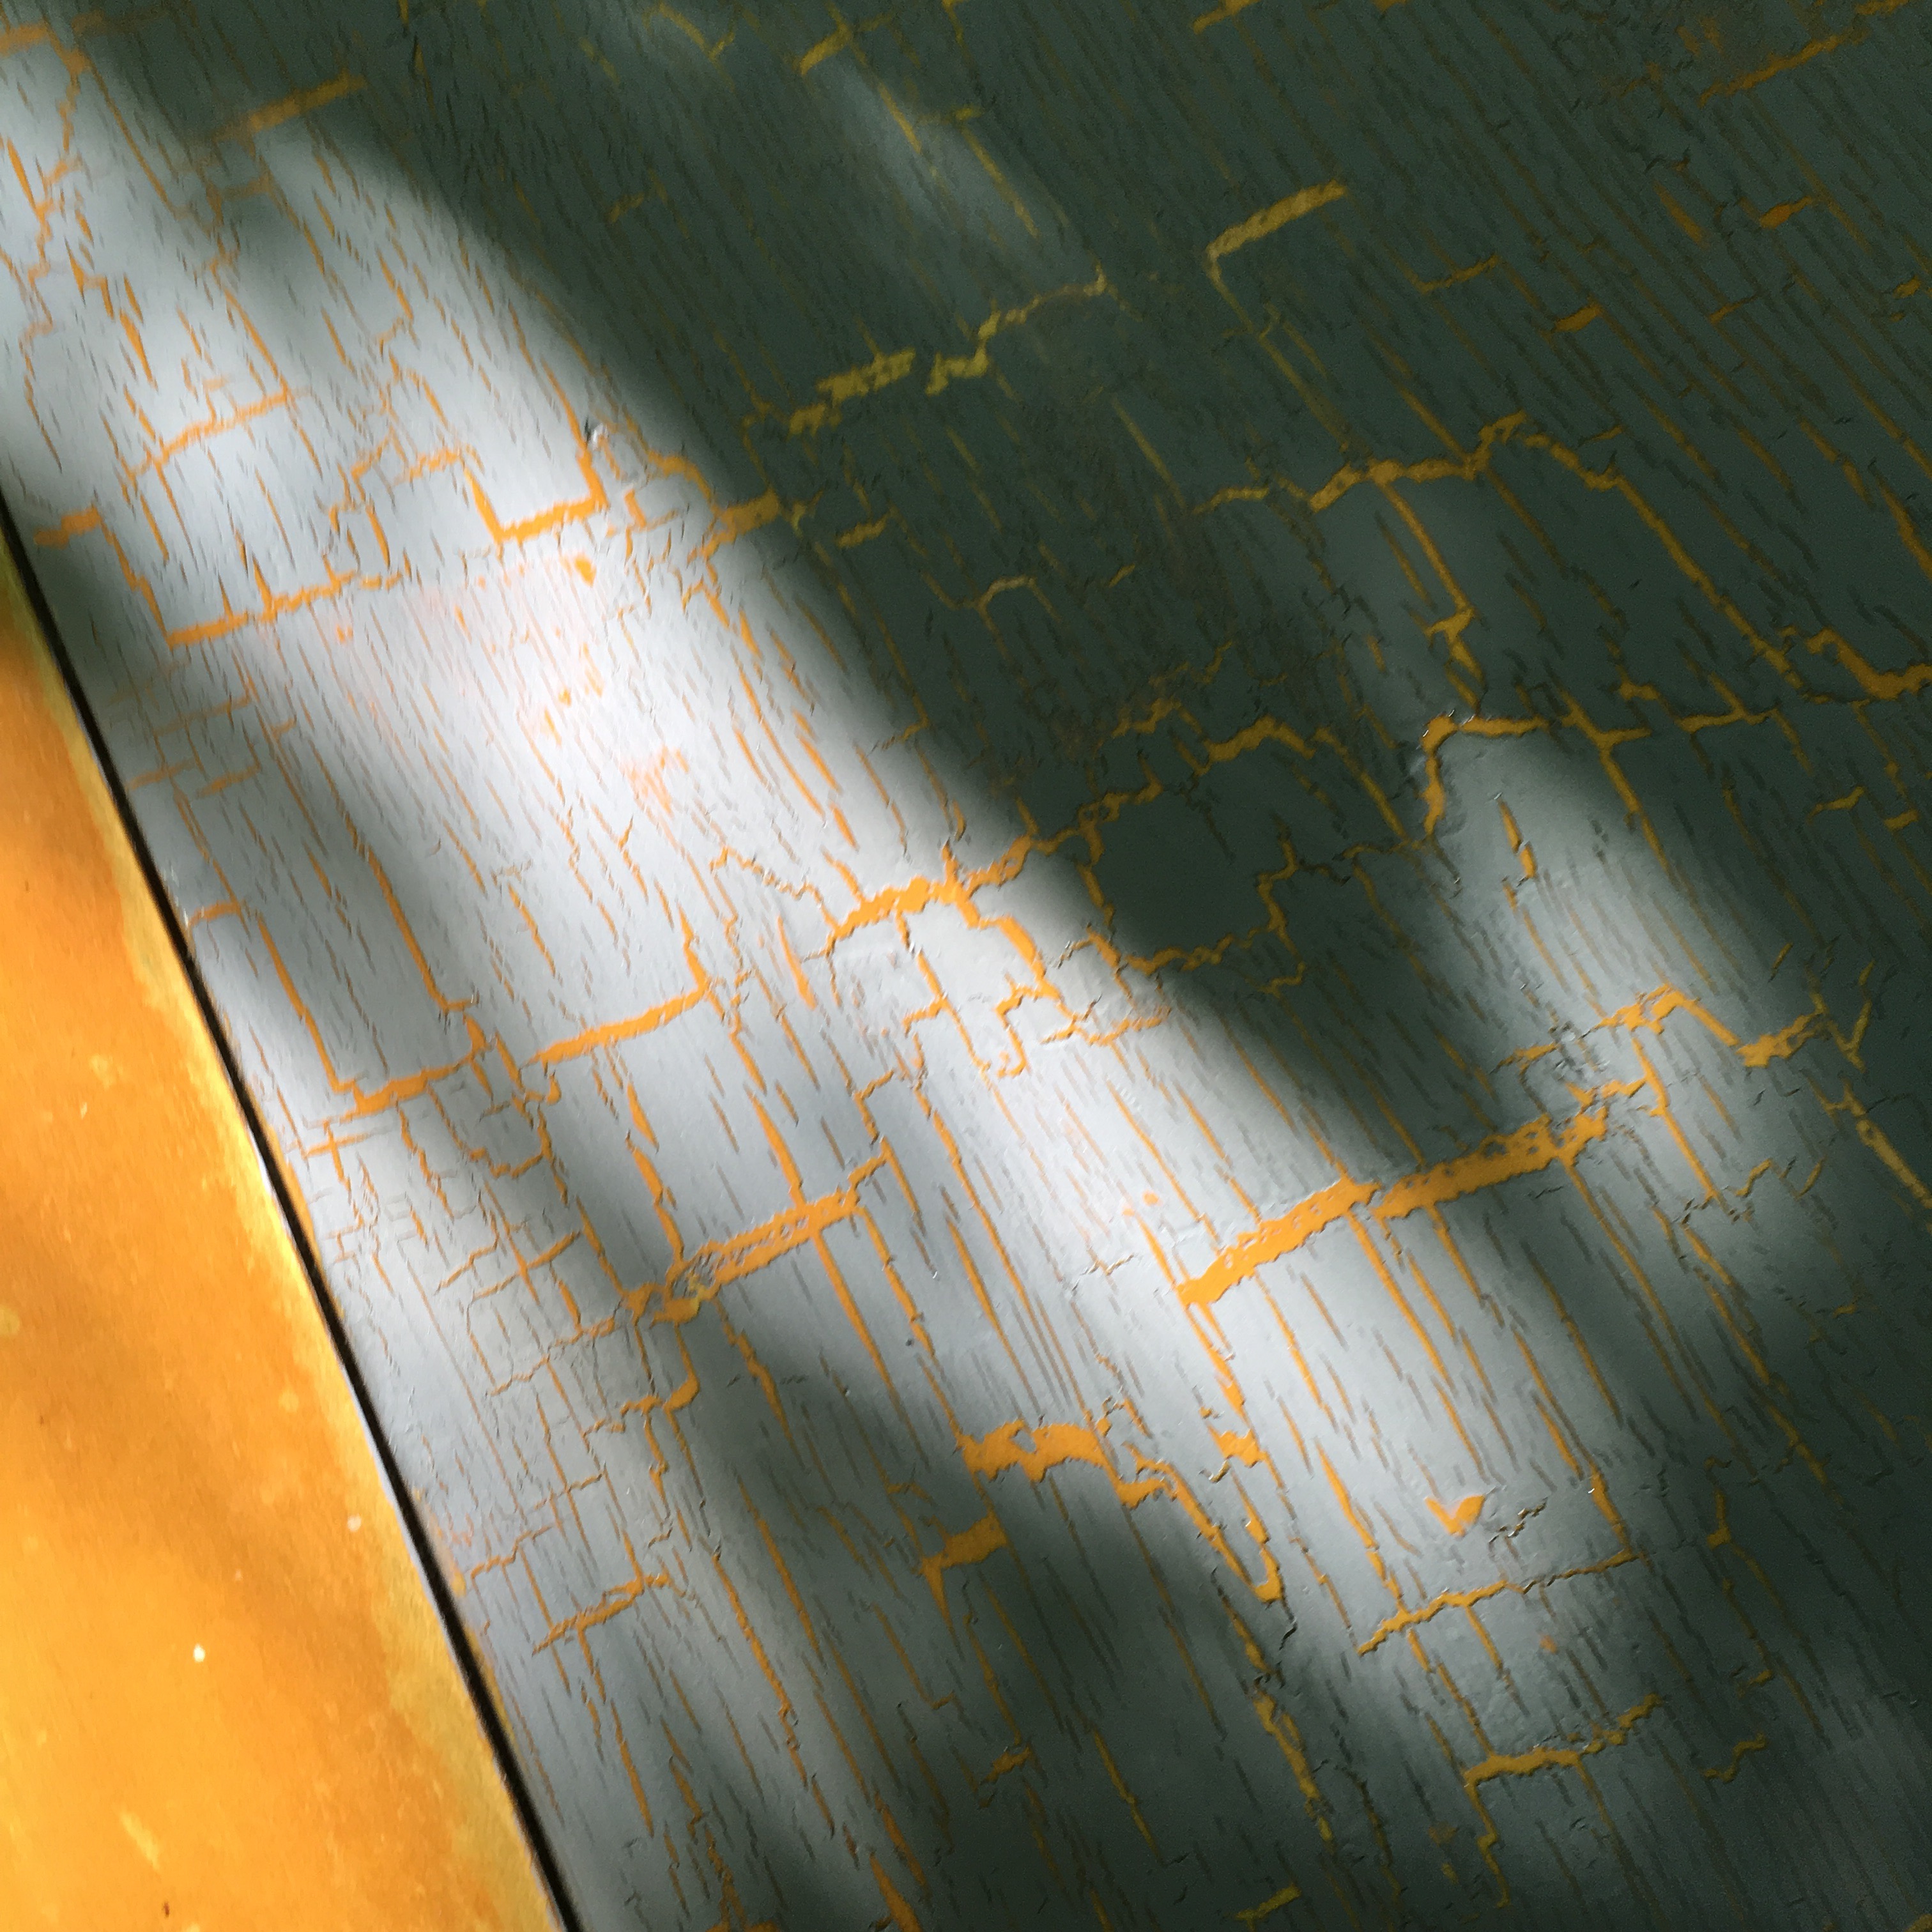
This is the finished crackle table top (the middle section is not yet dry in the photo). The piece is far from finished. The legs will be painted solid grey – no crackle technique, and both the top and legs will receive an antiquing medium glaze and then several coats of matt finish polyurethane for a durable, long lasting finish.
That is gorgeous! I love the technique. I may have to give that a try when I redo the guest room after the kids move back out. I’ll be using a very cool wrought-iron headboard I bought from my sister-of-a-different mother 🙂 so I will want some eclectic pieces to round out the room!
Thanks Martha. I love that you got one of the wrought iron beds! We’re both on the same wave length about upscaling our downsized lives, and just about everything else. 🙂
Ok, so NEVER take down this tutorial. It may be a while, but I AM actively looking for a new place, which will require buying furniture. I’ve downsized one time too many. Love this!!
The instructions will be right here. I’m going to do a couple of other tutorials for: slipcovering, upholstering a headboard and dining chairs, creating wainscoting, and making a planter from oars. There may be more in the works as projects come up.
Comments are closed.